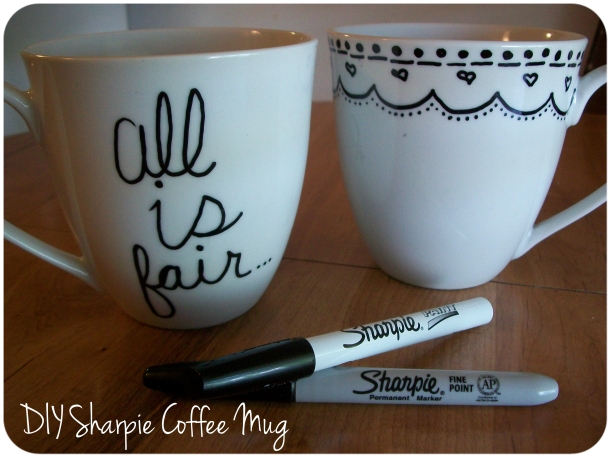
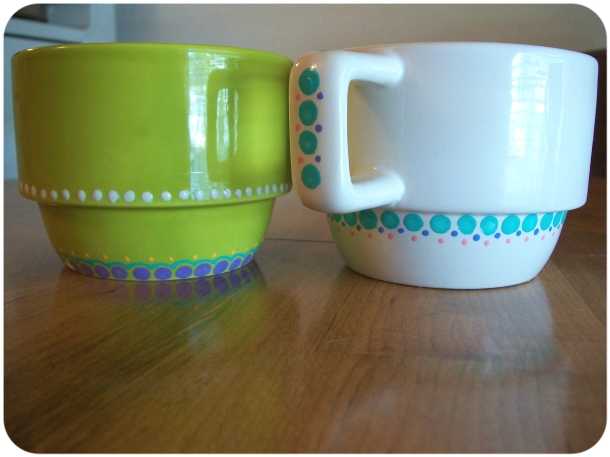
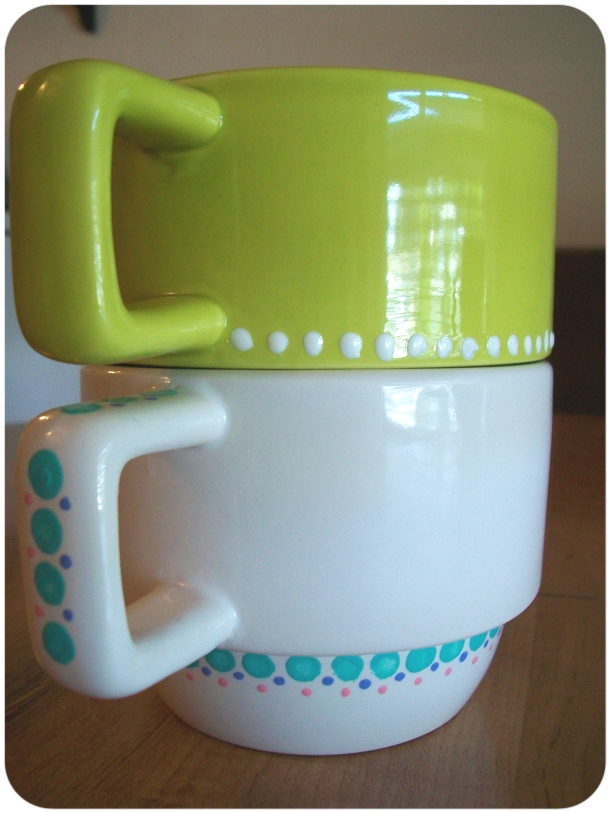
There’s a trend going around the world of craft blogging right now, especially on websites like Pinterest & CraftGawker, & that is the DIY mug, decorated using only a sharpie, which you set by baking it in the oven at 350 for 30 minutes. I’m a coffee-holic, & can never have enough coffee mugs in my life, so I was determined to give this one a try. So, after going through some trial & error, I wanted to do a sort of “review” on my experiences with it & how well it actually works.
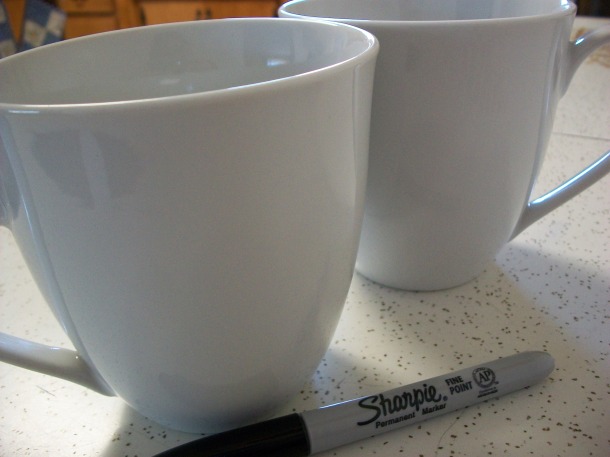
I had seen this project done with both a regular Sharpie & a paint Sharpie, but the first thing I tried was an original Sharpie & mugs I found at the dollar store. There are various how-to’s & reviews of how this went for people out there on the interwebs, but this was one of my favorites because her creations are just so darn cute.
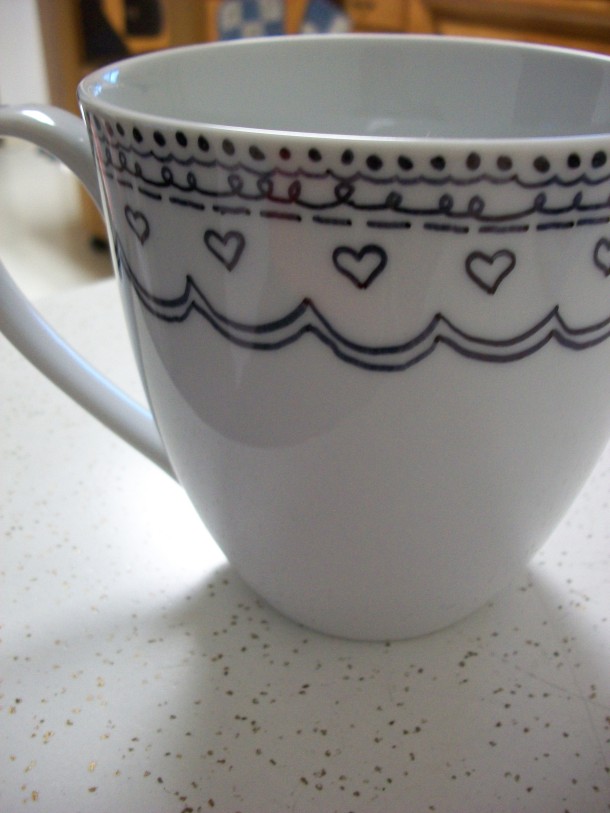
I drew my inspiration for the design from this blogger. I just thought it was so gorgeous & I’m really not that creative usually. It actually turned out pretty good considering that I have no hand-eye coordination or talent when it comes to drawing or creating anything with a paper [or ceramic] & a pen. So I stuck it in the cold oven, turned it on to 350, waited til it got up to temperature before timing it for 30 minutes, & then turned off the oven & let the mug cool in there.
After letting it cool & then leaving it to sit on the counter for a few days beyond that, I had my mom hand-wash it while she was doing dishes. Immediately the ink became cracked & faded. I also tried using it for my coffee & found that where my lips touched became faded very quickly as well. Not so great. I was pretty disappointed.
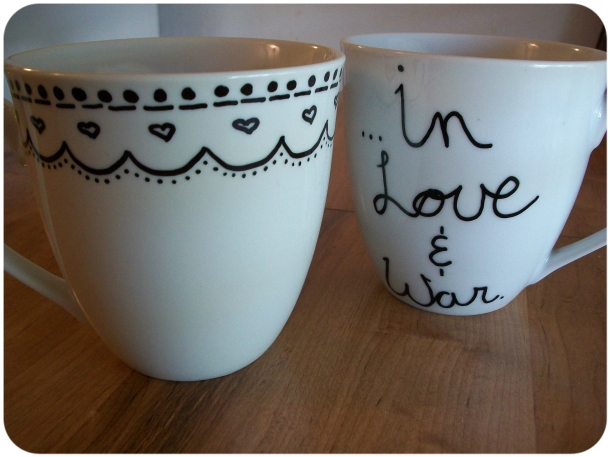
I was determined to make this work somehow, so I decided to try another technique I had found by Wild Olive, which involved using a Sharpie Oil-Based Paint marker instead of a plain Sharpie. I actually used the same mugs, I just used a Mr. Clean bleach eraser to get my previous designs off of them, which wasn’t very hard to do. I also chose to brush rubbing alcohol onto the cleaned surface & let it dry before attempting my new designs, because after doing some research I found that that’s something you do when using actual ceramic paint to make it stick better. I created a similar design to the one I had originally done in regular Sharpie, as well as a text quote that read “All if fair… In love & War”. I put it in the oven for 30 minutes on 350, & as far as I can tell, this technique works much, much better. The Paint Sharpie is made to be used on things like this [it even says so on the package] & it’s really obvious. Not only is the design more opaque, but it looks and feels a lot more permanent & professional. I created mine a few weeks ago while at home with my family, & just recently used the text one for my coffee. I had no issues hand washing it the first time around, but only time will tell.
Overall, I would tell you to not even waste your time trying to use a plain Sharpie on a mug or other piece of dinnerware. If you’re truly interested in creating a personalized work of art that has the potential to be used and stand the test of time, spend a little bit of extra money on a Sharpie Paint pen, or other similar pen. It works MUCH MUCH better!
After my failed experience with the original Sharpie, I got super interested & almost obsessed with finding something that would work & be mostly permanent on ceramics. What I really wanted to find, but had hardly any luck with, was the Porcelaine paint that I have heard such good things about. I found a little bit at Michaels, but it was all on clearance, which means mostly cleared out, & they didn’t seem to have any more of it. BUT, on that note, they had other ceramic paint [Delta PermEnamel] on crazy clearance [like $.79 a bottle] & I went a little crazy & bought TONS of it. I also got a few starter kits that came with surface conditioner [basically rubbing alcohol, which is where I learned that trick I mentioned earlier], a bunch of small pots of color, & glaze. It was air dry, so you didn’t have to bake it in the oven, but you have to let it dry for 21 days before use. So I made some fun mugs with that paint, & hope to create more & possibly sell them on my Etsy.
I hope this post was helpful for anyone considering trying out the DIY Sharpie mug idea, or anyone interested in getting into ceramic painting! It’s so much fun & not a super expensive hobby to take up. I really enjoyed learning something new, & I hope you give it a try as well!
Dani
PS: Please check out my latest post on this subject here.
